总字符数: 7.01K
代码: 1.88K, 文本: 0.75K
预计阅读时间: 11 分钟
Nessus
Nessus安装
将下面代码中的PACKAGE_NAME改成从官网获取的文件名

1 | PACKAGE_NAME=Nessus-10.6.4-es7.x86_64.rpm |
使用root账号执行nessus.sh
1 | cd /opt |

Nessus启动与停止命令
1 | # 启动 |
插件数量
| 序号 | 插件名称 | 数量 |
|---|---|---|
| 1 | AIX Local Security Checks | 11551 |
| 2 | Alma Linux Local Security Checks | 1177 |
| 3 | Amazon Linux Local Security Checks | 4216 |
| 4 | Backdoors | 123 |
| 5 | Brute force attacks | 26 |
| 6 | CentOS Local Security Checks | 4414 |
| 7 | CGI abuses | 5671 |
| 8 | CGI abuses : XSS | 703 |
| 9 | CISCO | 2366 |
| 10 | Databases | 969 |
| 11 | Debian Local Security Checks | 9196 |
| 12 | Default Unix Accounts | 172 |
| 13 | Denial of Service | 110 |
| 14 | DNS | 231 |
| 15 | F5 Networks Local Security Checks | 1405 |
| 16 | Fedora Local Security Checks | 18304 |
| 17 | Firewalls | 414 |
| 18 | FreeBSD Local Security Checks | 5475 |
| 19 | FTP | 272 |
| 20 | Gain a shell remotely | 282 |
| 21 | General | 356 |
| 22 | Gentoo Local Security Checks | 3519 |
| 23 | HP-UX Local Security Checks | 1983 |
| 24 | Huawei Local Security Checks | 10698 |
| 25 | Junos Local Security Checks | 622 |
| 26 | MacOS X Local Security Checks | 2287 |
| 27 | Mandriva Local Security Checks | 3641 |
| 28 | MarinerOS Local Security Checks | 564 |
| 29 | Misc. | 3657 |
| 30 | Netware | 14 |
| 31 | NewStart CGSL Local Security Checks | 1430 |
| 32 | Oracle Linux Local Security Checks | 6514 |
| 33 | OracleVM Local Security Checks | 602 |
| 34 | Palo Alto Local Security Checks | 170 |
| 35 | Peer-To-Peer File Sharing | 105 |
| 36 | PhotonOS Local Security Checks | 1895 |
| 37 | Policy Compliance | 16 |
| 38 | Red Hat Local Security Checks | 11595 |
| 39 | Rocky Linux Local Security Checks | 1083 |
| 40 | RPC | 39 |
| 41 | SCADA | 64 |
| 42 | Scientific Linux Local Security Checks | 3291 |
| 43 | Service detection | 601 |
| 44 | Settings | 122 |
| 45 | Slackware Local Security Checks | 1525 |
| 46 | SMTP problems | 154 |
| 47 | SNMP | 34 |
| 48 | Solaris Local Security Checks | 3819 |
| 49 | SuSE Local Security Checks | 23108 |
| 50 | Tenable.ot | 1885 |
| 51 | Ubuntu Local Security Checks | 7670 |
| 52 | Virtuozzo Local Security Checks | 341 |
| 53 | VMware ESX Local Security Checks | 143 |
| 54 | Web Servers | 1690 |
| 55 | Windows | 6509 |
| 56 | Windows : Microsoft Bulletins | 3000 |
| 57 | Windows : User management | 29 |
卸载方法
停止Nessus服务
1
sudo systemctl stop nessusd && systemctl --no-pager status nessusd
修改
/opt/nessus/文件夹属性1
chattr -i -R /opt/nessus/
卸载Nessus
1
2
3
4# Debian
apt remove nessus
# Centos
yum remove nessus
注意事项
在系统或Nessus重启后,扫描按钮可能出现暂时不能用的情况
原因:Nessus在重新配置插件
解决办法:耐心等待3~5分钟即可.
AWVS
安装AWVS
1 | # 安装依赖 |
显示软件协议
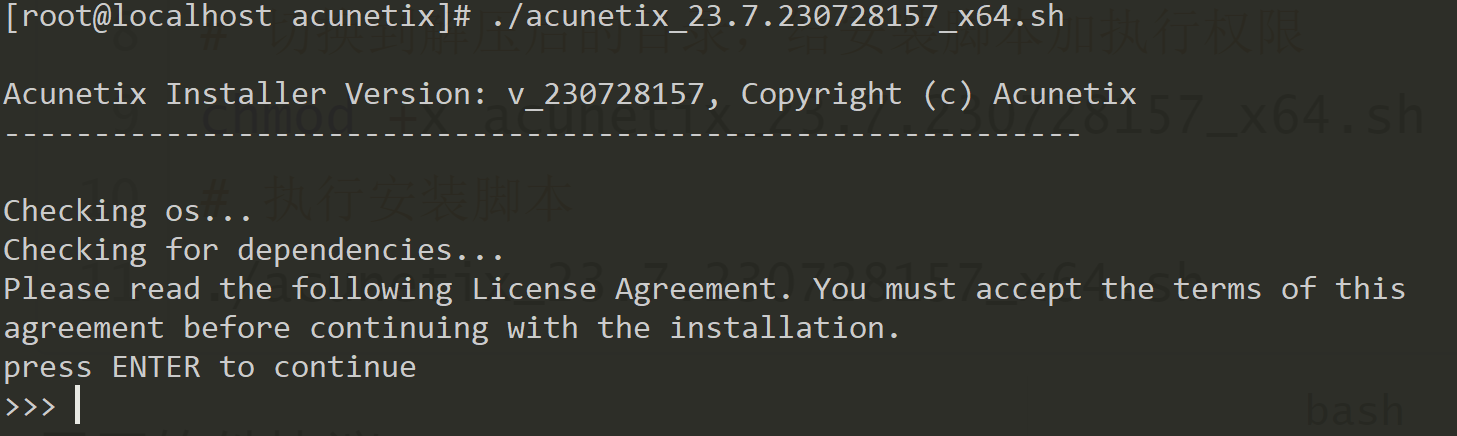
回车显示安装协议,先按 q退出阅读;再输入YES同意安装许可

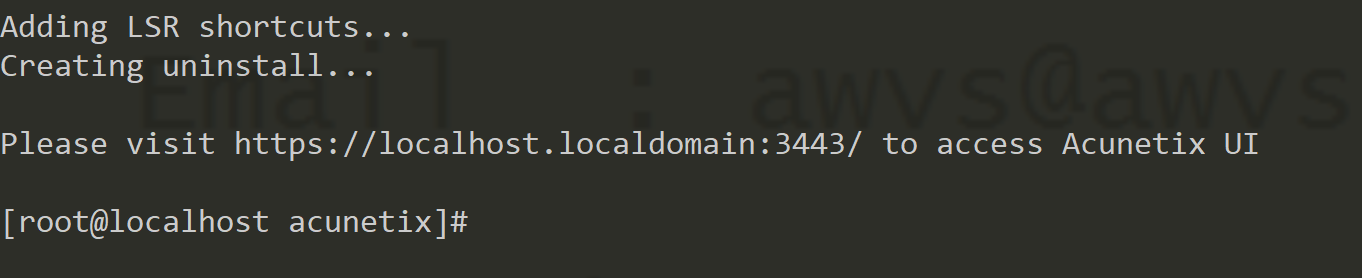
输入主机名,默认为你的系统名,回车

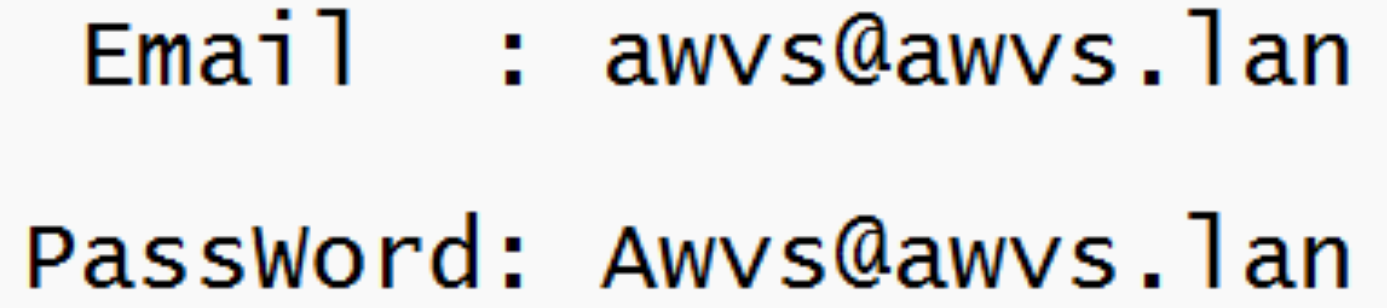
输入登录邮箱和密码.并回车
推荐的邮箱和密码
安装成功后.先不要访问!!!
激活AWVS
将破解补丁
license_info.jsonwa_data.dat覆盖到下面目录1
2cp license_info.json /home/acunetix/.acunetix/data/license/
cp -v wa_data.dat /home/acunetix/.acunetix/data/license/
复制替换
wvsc到下面目录1
cp -v wvsc /home/acunetix/.acunetix/v_230728157/scanner/
善后
1
2
3
4
5
6
7
8
9
10
11
12
13
14
15
16
17# 设置激活文件只读权限
chmod 444 /home/acunetix/.acunetix/data/license/license_info.json
# 保护许可证激活文件
chmod 444 /home/acunetix/.acunetix/data/license/wa_data.dat
# 切换用户
su acunetix
# 重启 AWVS 服务
systemctl restart acunetix.service
# 查看状态
systemctl status acunetix.service
# 放行防火墙
firewall-cmd --zone=public --add-port=3443/tcp --permanent
# 重新载入
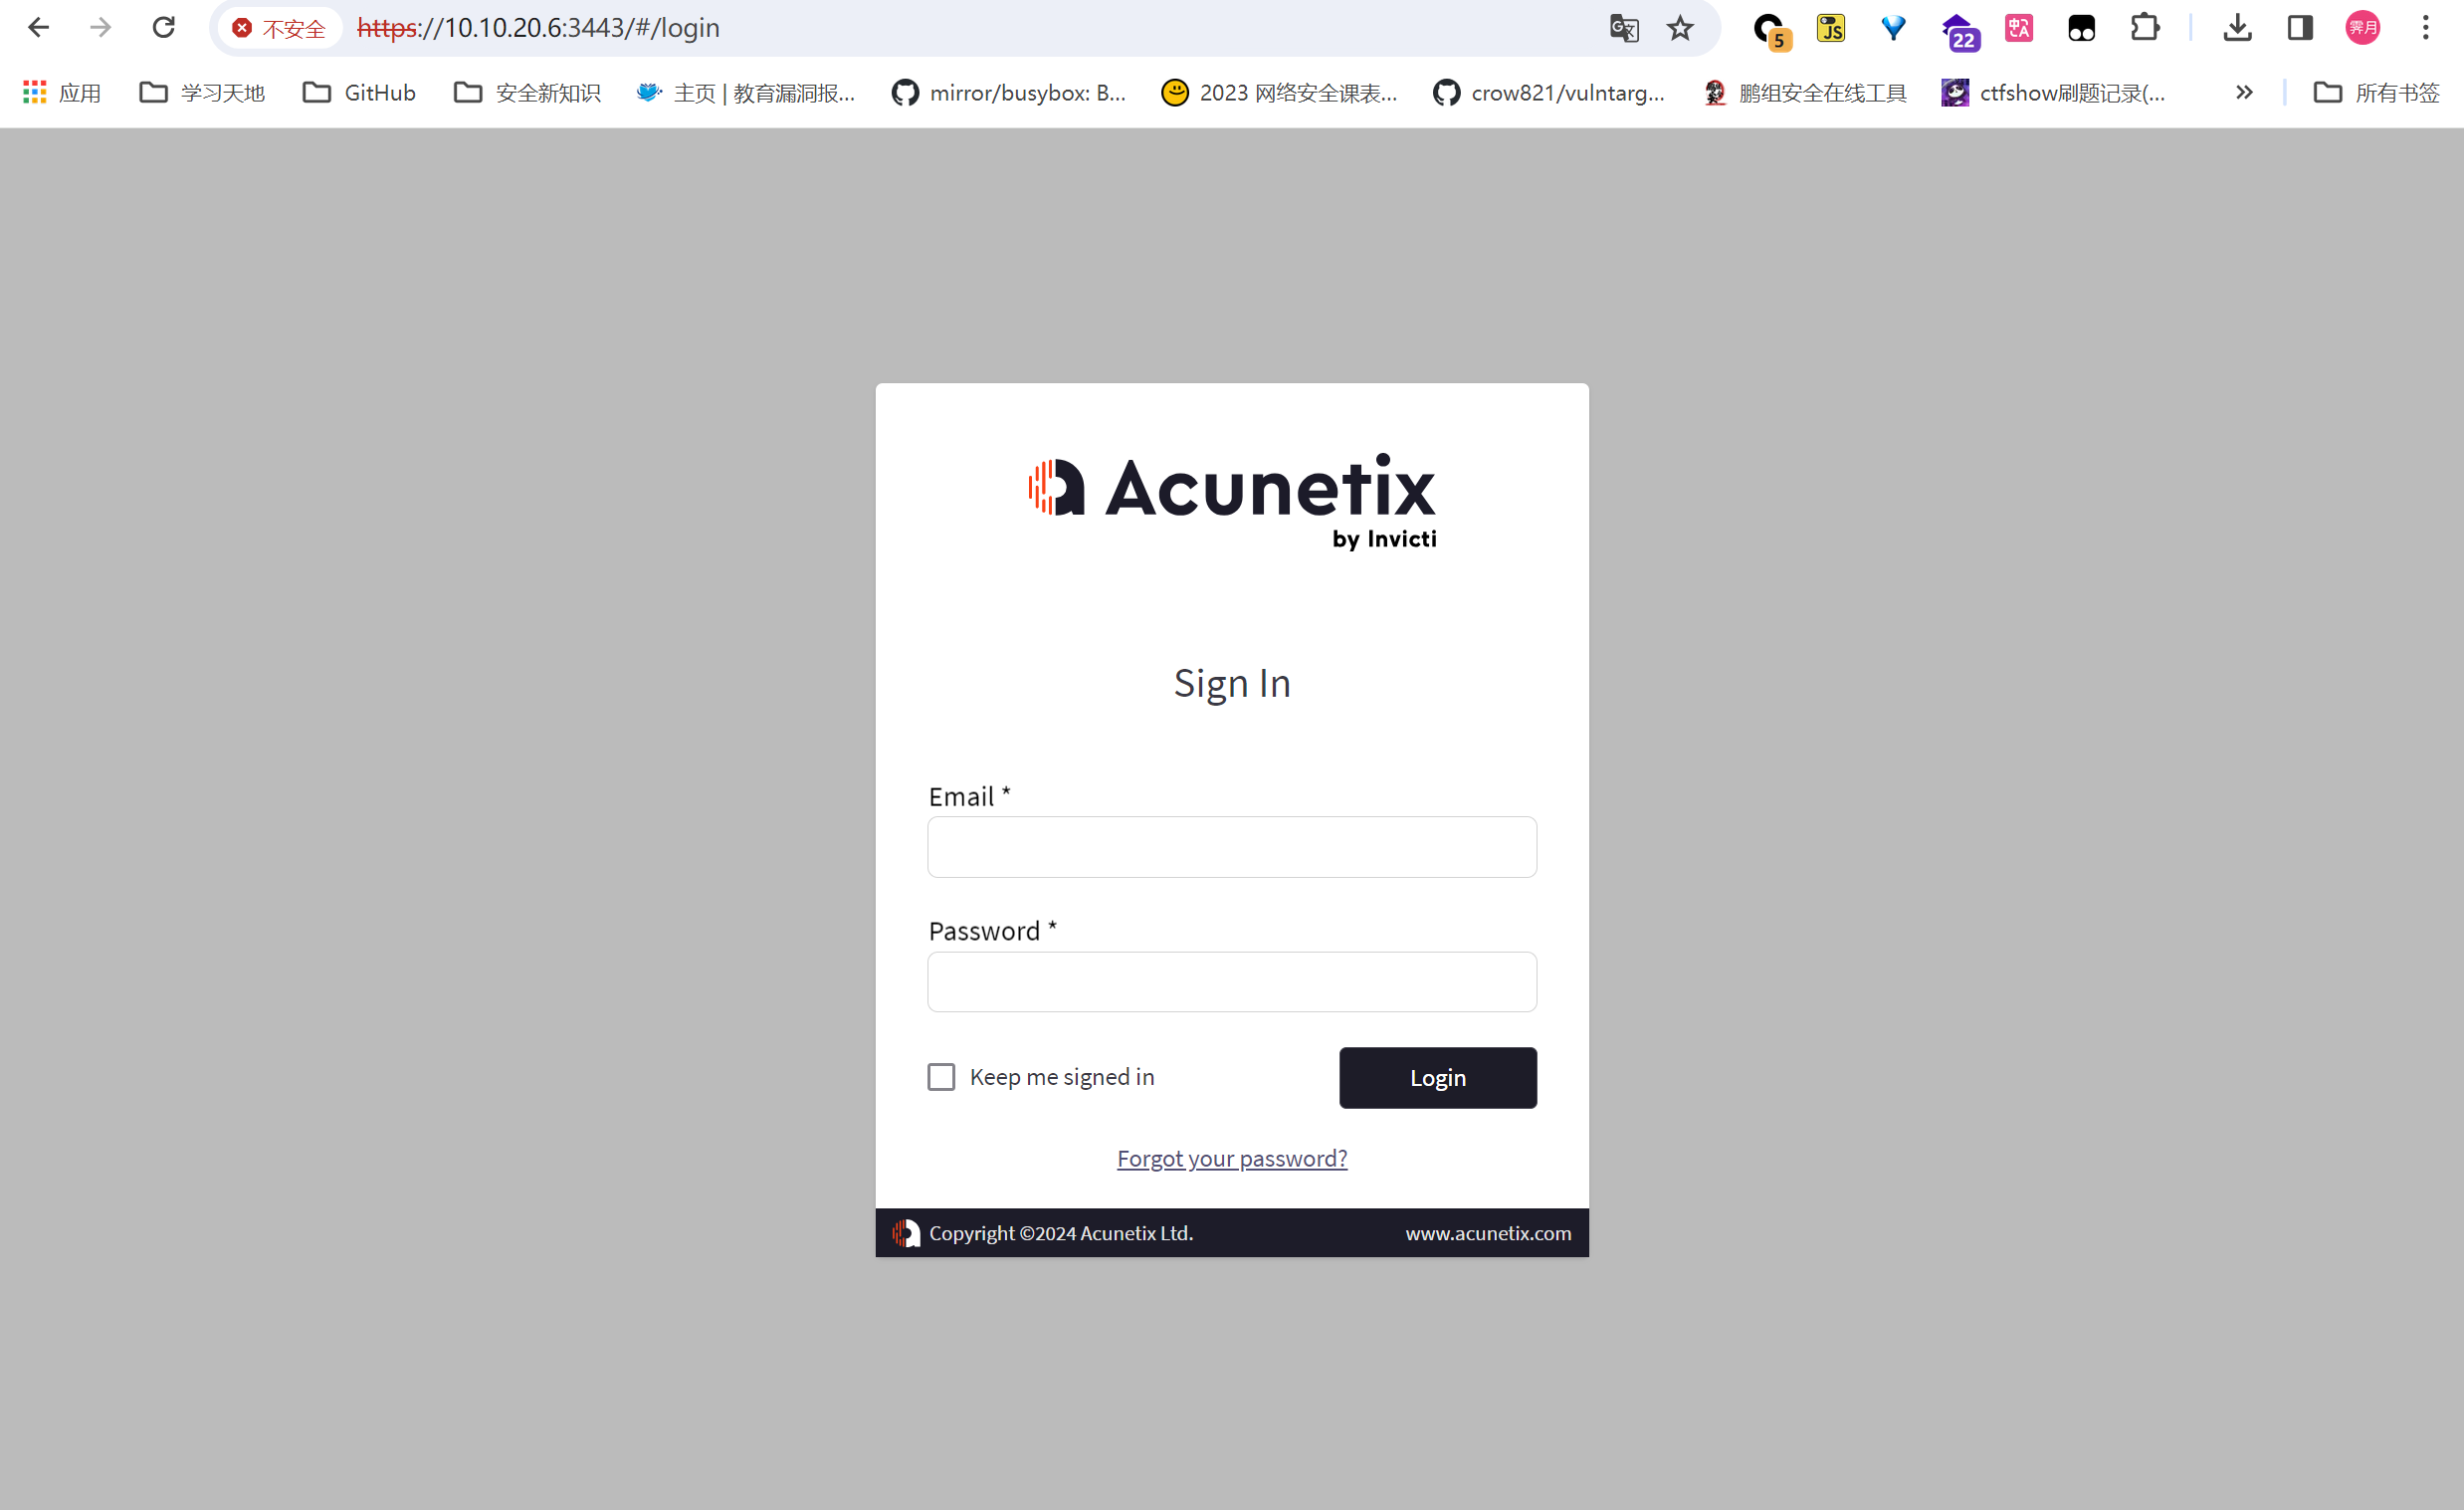
firewall-cmd --reload访问
AWVS的管理界面 :https://10.10.20.6:3443/验证激活


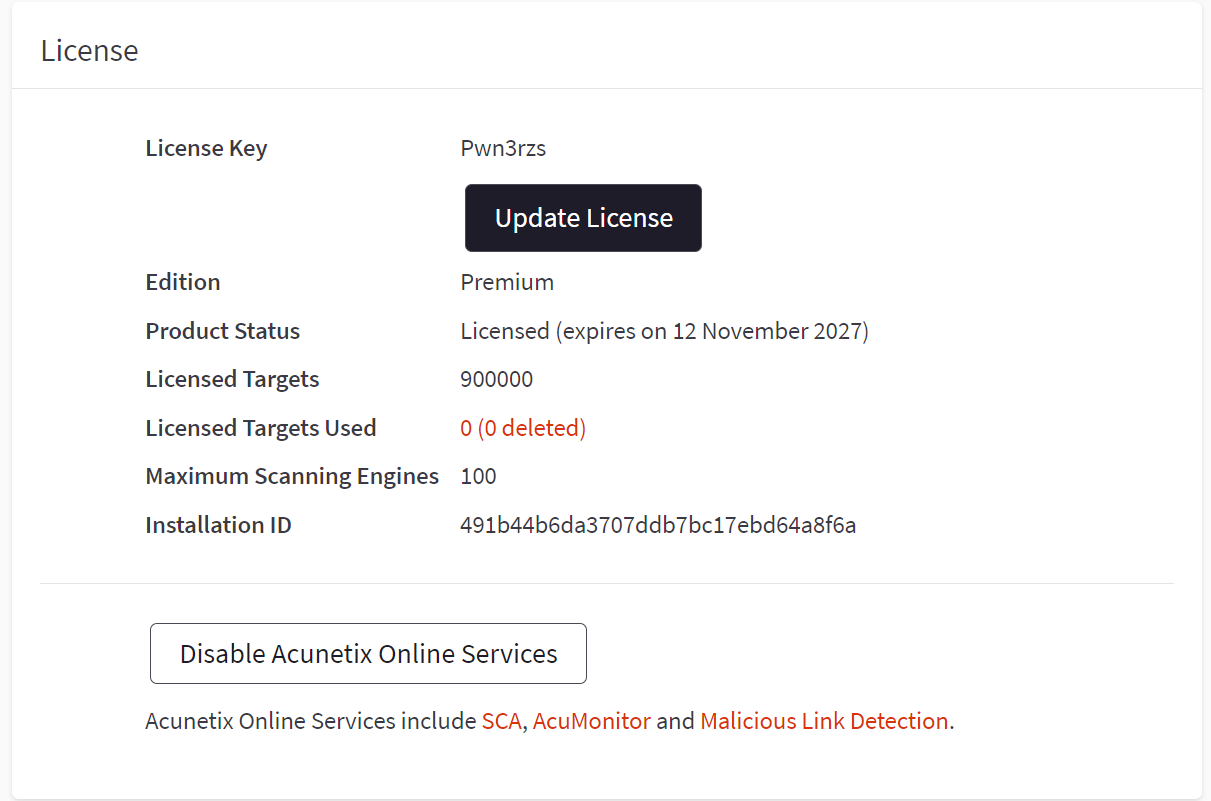
许可协议
本文由 kill3r 原创,采用 署名-非商业性使用-相同方式共享 4.0 国际 许可协议,转载请注明出处。
分享文章


